How Professionals Remove Hard Water Stains From Glass: A Pro's Secrets
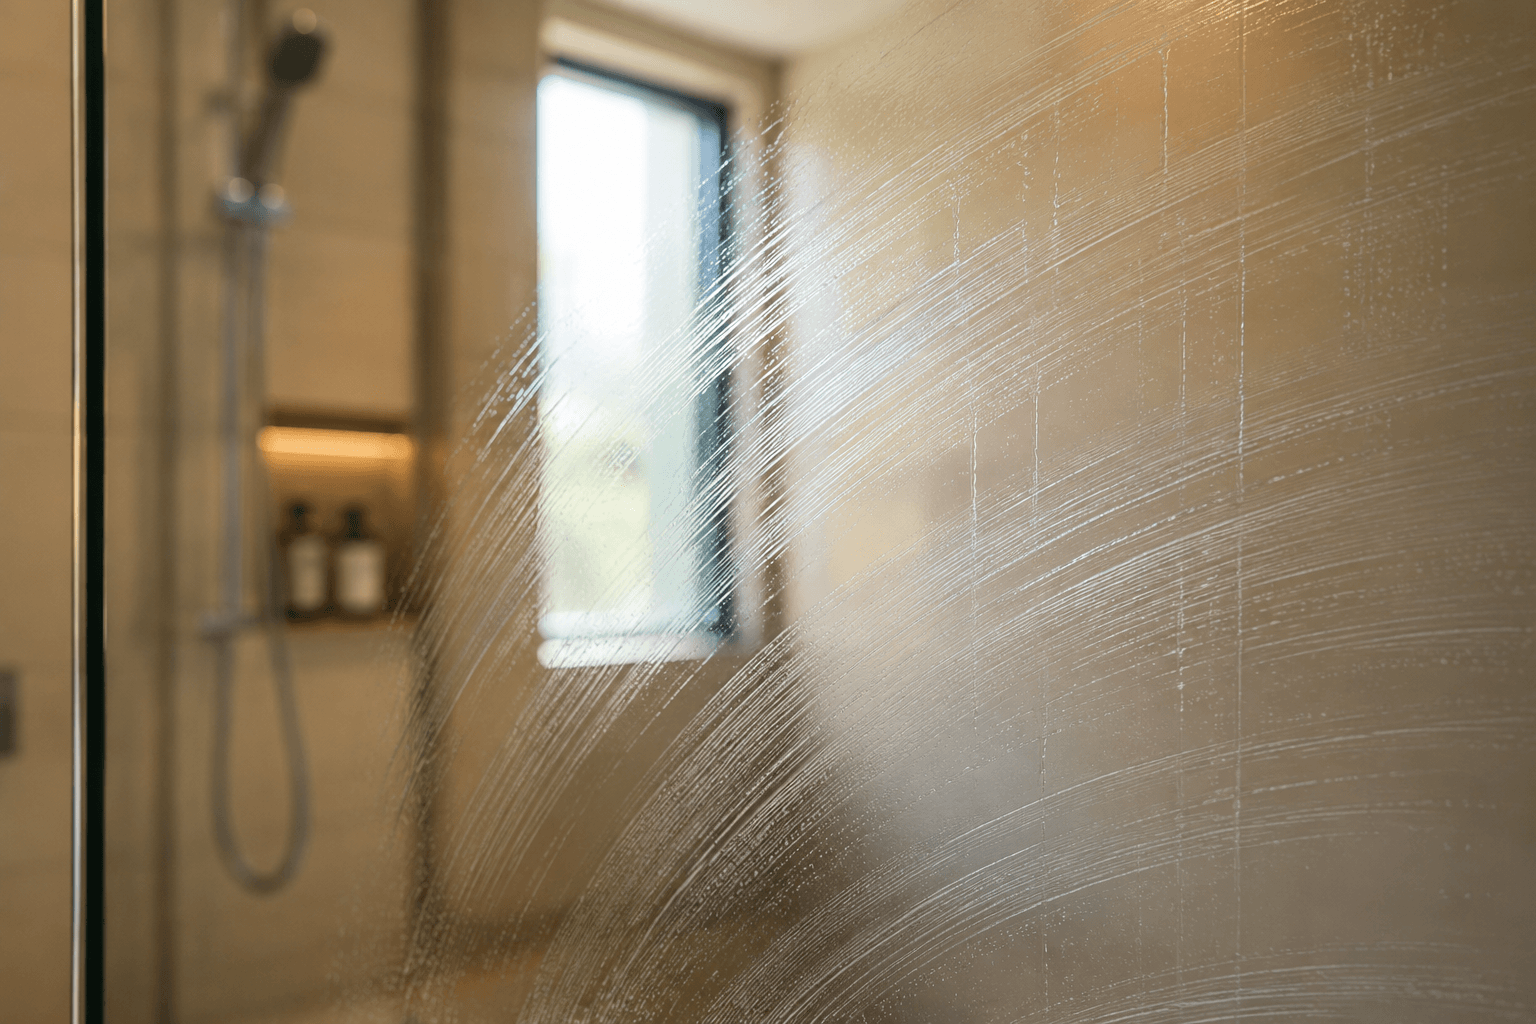
Hard water stains, especially those etched deep into your glass, are a common headache. While DIY kits promise miracles, true professionals use specialized tools and techniques to restore clarity. This guide pulls back the curtain on what a pro glass restoration in Malaysia actually involves, when DIY might work, and when it's simply cheaper to replace—plus, how to stop those stains from ever coming back.
Alright, let's talk about those stubborn, milky white stains on your shower screen or windows. You know the ones – the hard water stains that just laugh at your Cif and scrubbing efforts. Most homeowners in places like KL and Selangor have battled them, and trust me, I've seen some epic struggles. The truth is, once hard water minerals (calcium, magnesium) have etched themselves into your glass, it's not just a surface problem anymore. It's a deep-seated issue that requires more than elbow grease.
Today, we're going behind the scenes to show you how do professionals remove hard water stains from glass, what tools they use, and when it makes sense to call them in. We'll also look at DIY options and, crucially, when it's just plain cheaper to replace the glass altogether. Because at EnduroShield Malaysia, our core belief is that clean glass isn't about scrubbing harder; it's about stopping stains from sticking in the first place. But first, let's fix what's already there.
The Professional Approach: Pro Glass Restoration Malaysia
When you call a professional for glass restoration in Malaysia, especially for severe hard water damage, you're not just getting someone with a stronger cleaner. You're getting an expert with specific knowledge, tools, and a methodical process. Here’s a breakdown of what they typically do:
Step 1: Assessment and Pre-Cleaning
- Initial Inspection: A pro will first assess the severity of the hard water etching. They'll look for how deep the mineral deposits have penetrated and if there are any existing scratches that might complicate the process. This helps them determine the right abrasive and technique.
- Thorough Cleaning: Before any restoration begins, the glass needs to be spotless. They'll use industrial-strength degreasers and cleaners to remove all surface grime, soap scum, and loose mineral deposits. This ensures the polishing compound can work directly on the etched surface without contamination.
Step 2: Mechanical Polishing – The Cerium Oxide Secret
This is where the magic happens, and it’s why professionals get results you can’t with a sponge. They use a process called mechanical polishing, often with cerium oxide polish.
- Specialized Equipment: A professional uses a rotary polisher, similar to what car detailers use, but with specific pads designed for glass. These aren't your average DIY drill attachments.
- Cerium Oxide Slurry: Cerium oxide is a fine abrasive powder that, when mixed with water to form a slurry, acts like a very fine sandpaper for glass. It's gentle enough not to cause new scratches (if used correctly) but abrasive enough to slowly remove the microscopically thin layer of glass that contains the mineral etching.
- Controlled Abrasion: The technician applies the cerium oxide slurry to the glass and uses the polisher at a controlled speed and pressure. This process slowly grinds down the surface of the glass, removing the etched layer. It's a delicate balance – too much pressure or speed, and you risk overheating and cracking the glass, or creating optical distortions.
- Multiple Passes: Depending on the severity, multiple passes might be needed. They'll work in small sections, constantly checking their progress and keeping the glass cool.
Step 3: Rinsing and Final Inspection
After polishing, the glass is thoroughly rinsed to remove all cerium oxide residue. Then, a meticulous final inspection under various lighting conditions ensures all stains are gone and the glass is perfectly clear and smooth. Any remaining haziness or swirl marks indicate more polishing is needed.
What About Scratches?
For minor surface scratches, the same cerium oxide polishing technique can often work, essentially 'sanding' down the edges of the scratch until it's less visible. However, deep scratches are a different beast. If you can feel the scratch with your fingernail, it's usually too deep for simple polishing and might require a more aggressive, multi-stage glass scratch removal process that reshapes the glass, which is even more intricate and costly.
DIY Hard Water Stain Removal: When It Works (and When It Doesn't)
Before you call in the pros, many people try DIY solutions. For light, recent hard water spots that haven't deeply etched the glass, these can sometimes work:
- Acidic Cleaners: White vinegar (diluted 1:1 with water), lemon juice, or even dedicated hard water stain removers (like CLR or specific bathroom cleaners) can dissolve surface mineral deposits. Apply, let it sit for 10-15 minutes, then scrub with a non-abrasive pad (like a magic eraser or fine steel wool, 0000 grade). Rinse thoroughly.
- Baking Soda Paste: Mix baking soda with a little water to form a paste. Apply to the stains, let it sit, then scrub gently. The mild abrasive action can help lift some deposits.
- Cerium Oxide DIY Kits: You can find small DIY cerium oxide polish kits online (e.g., from Lazada or Shopee, typically RM 80-150). These usually come with a small amount of cerium oxide powder, a felt polishing pad, and an adapter for your household drill.
The Reality of DIY Cerium Kits: While these kits *can* work for very light etching or small areas, they come with significant caveats:
- Risk of Damage: Without proper technique, speed control, and cooling, you risk creating new swirl marks, optical distortion (making the glass look wavy), or even cracking the glass due to heat.
- Time and Effort: It's incredibly labor-intensive. What a pro does in an hour with industrial equipment might take you an entire weekend with a hand drill, and the results are rarely as uniform.
- Limited Power: Household drills aren't designed for sustained, high-torque polishing. They can overheat, and their RPMs might not be optimal for glass.
Verdict: For light, recent stains, DIY methods are worth a try. For anything that's been there for months or years and feels rough to the touch, a DIY cerium kit is a gamble with a high chance of disappointment or even damage.
KL Klang Valley Pricing: Pro Polish vs. Replacement
Let's talk money, because this is often the deciding factor. Prices for pro glass restoration Malaysia can vary widely based on the size of the glass, severity of the stains, accessibility, and the specific company. Here's a general guide for the KL Klang Valley area:
- Professional Glass Restoration (Polishing): For a standard shower screen (e.g., 1.8m x 0.8m), you might expect to pay anywhere from RM 300 - RM 800+. Larger windows, multiple panels, or very severe etching will push the price higher. If there are deep scratches requiring aggressive removal, the cost can easily exceed RM 1,000 per panel.
- New Glass Replacement: This is where it gets interesting. The cost of replacing a standard 8mm tempered glass shower screen panel (supply and install) can range from RM 400 - RM 1,200+, depending on the glass type (clear, frosted, low-iron), size, and complexity of installation. For a large window pane, it could be much higher.
When is Replacement Cheaper?
Here's the critical moment of decision:
- Deep Etching/Severe Cloudiness: If the hard water has etched so deeply that the glass is visibly cloudy or opaque even after cleaning, or if a professional says it will require multiple, aggressive passes, the cost of restoration can quickly approach or even exceed the cost of new glass.
- Extensive Deep Scratches: As mentioned, deep scratches are very hard to remove perfectly. If your glass has numerous or very deep scratches in addition to hard water stains, replacement is often the more cost-effective and aesthetically pleasing option.
- Old, Low-Quality Glass: Sometimes, the glass itself is old, thin, or of lower quality, making it more prone to damage during restoration. In such cases, replacing it with new, higher-quality glass is a better long-term investment.
- Cost-Benefit Analysis: Always get a quote for both restoration and replacement if the damage is severe. If restoration is quoted at RM 700 and a new panel is RM 800, the extra RM 100 might be worth it for a completely fresh, unblemished piece of glass.
Prevention is Always Better (and Cheaper) Than Cure!
This brings me back to our core belief at EnduroShield Malaysia. Once you've gone through the trouble and expense of restoring your glass (or replacing it), the absolute smartest thing you can do is prevent those stains from coming back. This is where EnduroShield comes in.
Think of it like a non-stick pan. When you cook on a regular pan, food sticks, and you have to scrub it clean. But on a non-stick pan, food slides off easily. EnduroShield works exactly the same way for your glass. It's a clear, ultra-thin coating that chemically bonds to the glass surface, creating a super-smooth, non-stick barrier. Water, soap scum, and minerals can't grab on, so they just bead up and slide off.
This means:
- Far Less Cleaning: You'll spend almost 90% less time cleaning. A quick wipe with a microfibre cloth (like a Daiso one for RM 5.90) and water is usually all it takes.
- Keeps Glass Like New: It actively prevents hard water etching and soap scum buildup, keeping your glass looking sparkling new for years.
- DIY Friendly: Our EnduroShield kits are designed for easy DIY application. A standard shower screen takes about 10-30 minutes to apply, with an 8-hour cure time. No special tools needed!
- Long-Lasting: One application is made to last 3+ years, backed by our 3-year refill guarantee (register with a short video within 30 days of applying).
Our current sale prices make it even more accessible:
- Standard Kit (1.5 sqm): Now RM 218 (was RM 268)
- Family Kit (3 sqm): Now RM 338 (was RM 498)
- Pro Kit (8 sqm): Now RM 648 (was RM 898)
So, after you've invested in getting your glass back to its best, protect that investment. Don't let those hard water stains come back to haunt you. Prevention is not just smart; it's incredibly cost-effective in the long run.
— Kent, EnduroShield Malaysia
Protect this glass for 3 years
EnduroShield's DIY kit bonds chemically to shower glass. Australian-made, TÜV Rheinland certified, applies in 10-30 minutes.
Shop the kit →Frequently asked questions
Can I remove hard water stains with vinegar or lemon juice?
For light, fresh hard water spots, acidic solutions like white vinegar or lemon juice can be effective. They help dissolve the mineral deposits. However, for older, deeply etched stains that have been there for months or years, these DIY methods are usually not strong enough to fully restore the glass.
What is cerium oxide and how does it work for glass restoration?
Cerium oxide is a fine abrasive powder used by professionals to polish glass. When mixed with water, it forms a slurry that gently grinds away a microscopically thin layer of the glass surface. This removes the etched mineral deposits and fine scratches, restoring clarity. It requires specialized polishing equipment and careful technique to avoid damaging the glass.
When should I consider replacing my glass instead of restoring it?
You should consider replacement if the hard water etching is very deep, making the glass permanently cloudy or opaque, or if there are numerous deep scratches. Also, if the cost of professional restoration approaches or exceeds the cost of installing new glass (including supply and installation), replacement often offers a better long-term solution and a completely fresh start.
How can I prevent hard water stains from returning after cleaning or restoration?
The best way to prevent hard water stains from returning is to apply a protective coating like EnduroShield. This creates an ultra-thin, non-stick barrier on the glass surface, similar to a non-stick pan. Water, soap scum, and minerals can't bond to the glass, making it far easier to clean and preventing etching in the first place.